Technical Information

Torque, Gear Ratio & Weight
transmission Fluid Capacity

9.4 liters (10 Quarts) + 0.5 liter (0.53 Quarts) for cooling system

Transmission Fluid should be changed every 100k mi (160k KM)

Note: ZF recommends the use of LifeGuardFluid 6 for optimal performance.

Preliminary tasks

IMPORTANT

Secure the vehicle against rolling, apply parking brake and secure wheels with wheel chocks. On some vehicles (Eshift) it is necessary to shift the vehicle out of Park to replace the mechatronic.
Some vehicles require the underbody panels, heat shields, exhaust crossmember and exhaust system to be removed to gain full access to the transmission. Remove as necessary.

All information given on this site is AS-is and use at your own discretion and fault.

Proceed with extreme caution if the transmission fluid is hot.
Hot fluid will cause burns. Wear protective clothing, gloves and face-eye protection equipment.

Drain the Transmission fluid

BEFORE YOU START!  MAKE SURE YOU CAN REMOVE THE FILL HOLE PLUG!

On applications with steel oil pan also remove the oil filter.

Transmission Fill hole (1, in photo below)

Selector lever to ”P” position.

Stand vehicle on a level surface and secure against rolling off.

Undo oil filler plug (1, in photo below).

Remove the transmission pan

After the stream of fluid from the drain plug is reduced to a trickle, loosen and remove the oil pan screws leaving only the corner screws in place.
To remove the pan, push and hold it against the transmission housing and remove the remaining screws. (If you plan on reusing these I suggest you put them in Zip Lock bag)
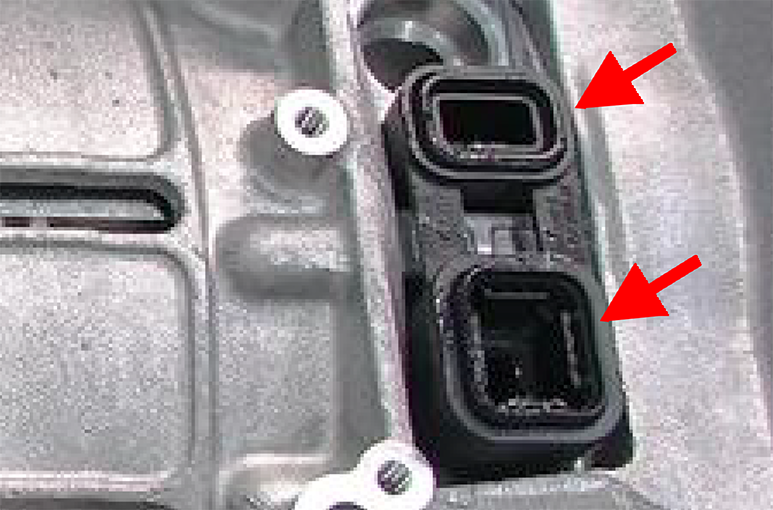
Clean the transmission housing oil pan mating surface, avoid scratching the sealing surfaces.

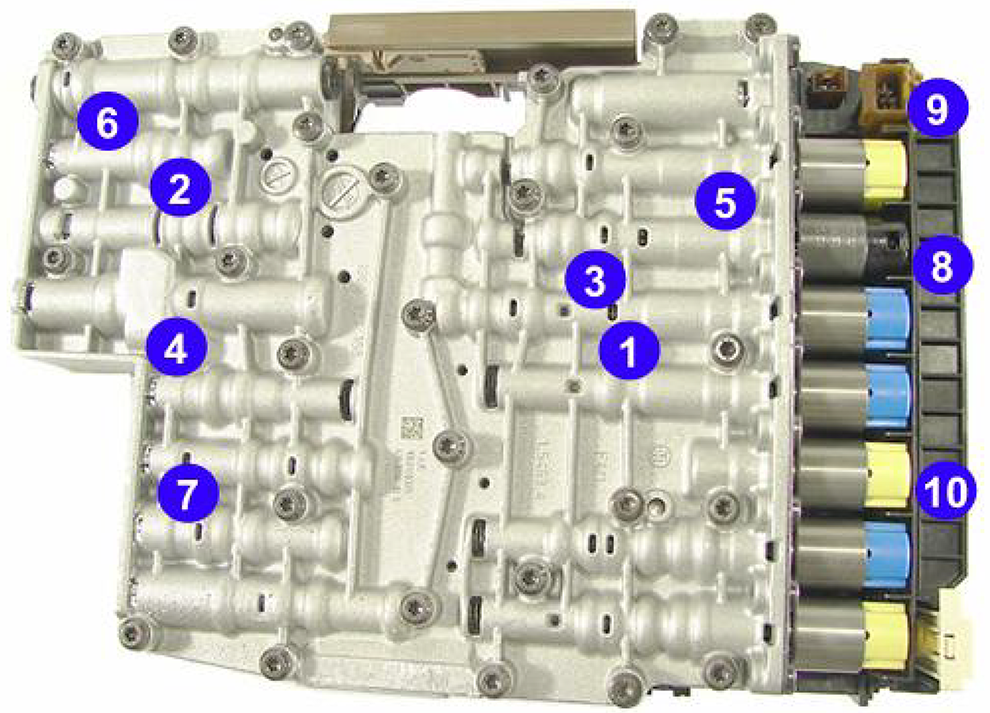
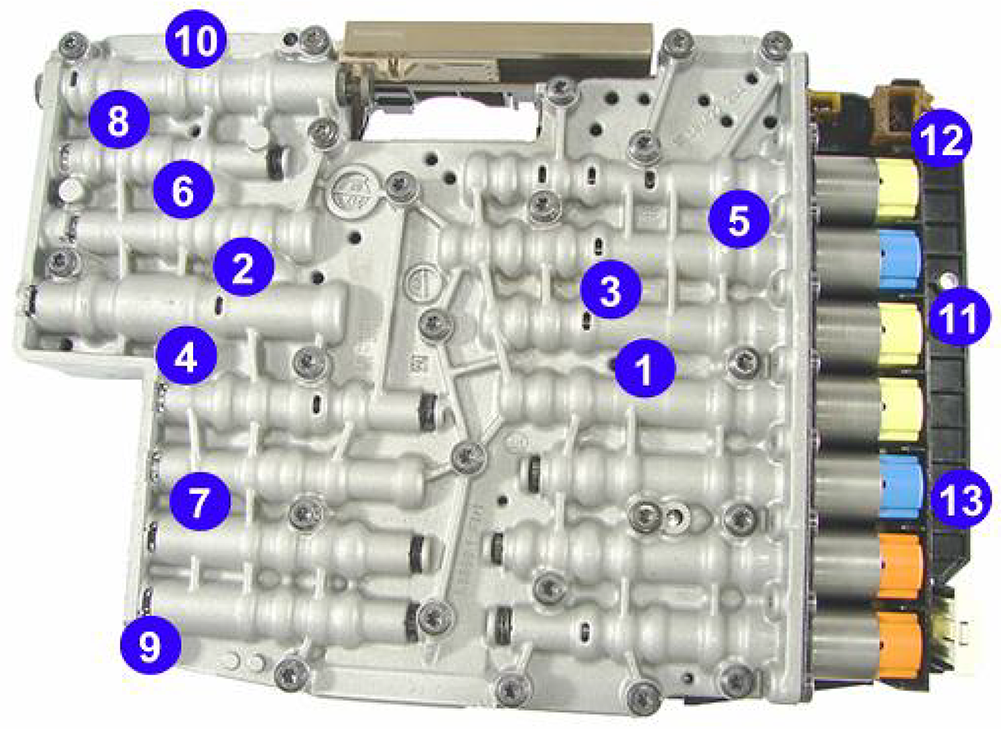
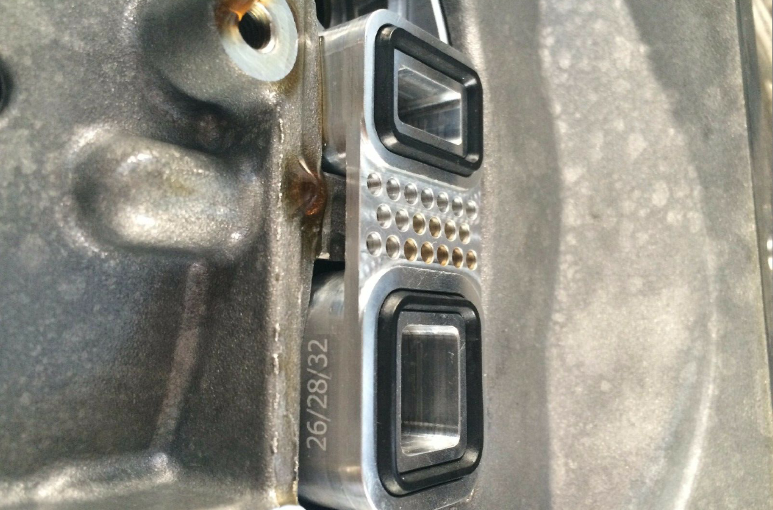
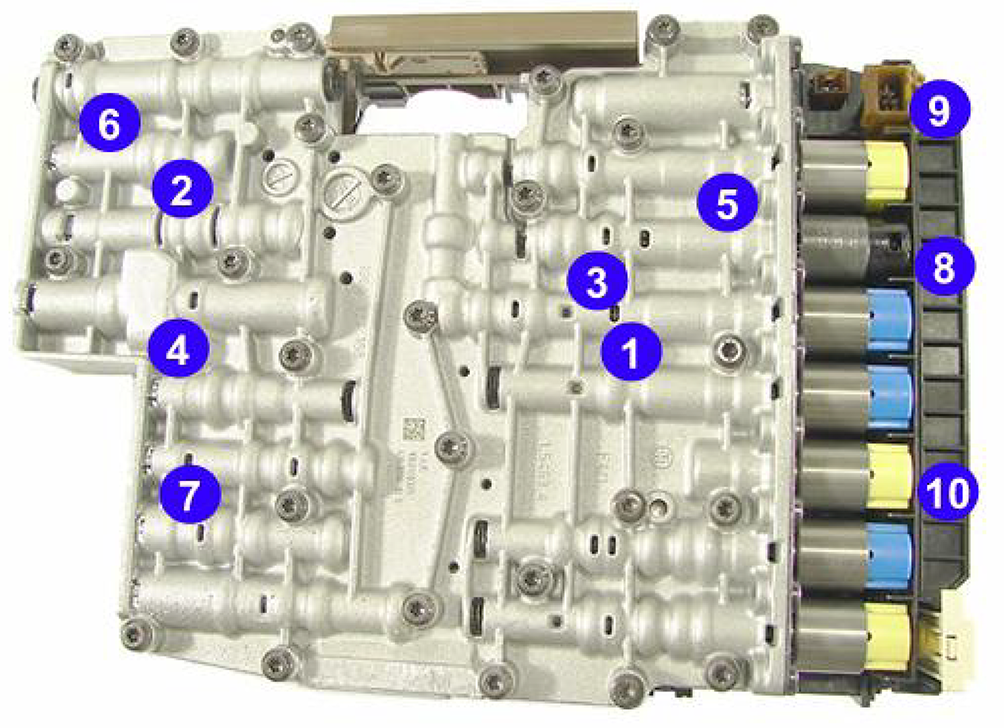
NOTE: Numbers shown on image above will be the order you reinstall the bolts to pan during reassembly.

Unlock and disconnect the Trans electrical plug

The Mechatronic (electronic valve body) located within the transmission is a electrostatic sensitive device, avoid touching any electrical pins to prevent ESD (electrostatic discharge) damage.

Pull the sealing sleeve locking mechanism to the unlocked position and remove the sealing sleeve.

The locking tab is located on the bottom of the mechatronic below the sealing sleeve.

The sleeve has a locating tab that might come in touch with the connector pins and cause damage.

Eshift applications only (vehicles with an Emergency Release Cable)

Important: By moving the emergency park release lever backward the transmission is no longer in the park position. Secure the vehicle against rolling, apply parking brake and secure wheels with chocks.

Use a zip tie to  secure the emergency release lever in a slight backwards position as shown.

Mechatronic removal

Release and remove the screws indicated in blue to remove the mechatronic.

Note: There are mechatronic versions with 10 or 13 mounting screws.

Be careful not to drop or rough handle the mechatronic to prevent external damage.

Mechatronic seal adapter

Its pretty common for the plastic adapter to break and leak trans fluid.  If you find yourself losing transmission fluid this is an area to watch out for.

Remove the mechatronic adapter and replace the seals with the new one.

BMW Factory Part # 24347588727

NOTE:  There is a company on ebay that makes an upgraded aluminum mechatronics seal adapter.  I have no experience with it but it looks well made a nice upgrade for those looking to keep this cars a long time.

Personally I cant justify the $165 + $9.60 (USD) vs the cost of factory seal.

CLICK HERE TO SEE EBAY LISTING

Mechatronic installation

E-shift

When installing the replacement mechatronic make sure the park cylinder rod on Eshift is properly engaged before installing any of the mechatronic mounting bolts.

Use hand tools Do not use power tools for screw installation.

First install and turn screw 1 and 4 alternately until seated then install all other screws until they make contact with the mechatronic. After all screws are installed, tighten screws in order 1 through 10 or 1 through 13 as shown in the schematics below. Torque for screws is 8 Nm ± 0.8 Nm.

Mechatronic sleeve installation

Unlock the sealing sleeve locking mechanism of the new mechatronic. Install the sealing sleeve with the locating tab j properly aligned with the mechatronic. After sleeve is properly seated push the locking mechanism to the locked position. Install the vehicle connector plug and check that the sleeve is properly seated k gap x should be between 2.5 and 3.0 mm.

Oil pan installation

Install the oil pan and attach all screws until they just make contact with the oil pan. After all screws are installed, tighten screws in order 1 through 24 as shown in the schematic below.
     · The tightening torque for screws on a plastic oil pan is 10 Nm ± 1.0 Nm.
     · The tightening torque for screws on a steel oil pan is 12 Nm ± 1.0 Nm.

Eshift vehicles, remove the tie strap or wire that held the emergency park release lever in the backwards position.

Adjust the emergency cable as follows.

With the emergency cable released the clearance X indicated above must be adjusted to 1.0 to 2.0 mm.

The cable should not touch the lever at any time, even if the lever is moved back and forth. If the cable does come in contact then check for a bent lever or a bent cable bracket.

Mechatronic programming

If the mechatronic was not previously programmed with vehicle specific software this must be performed at this time. Operating vehicle in failsafe mode may cause transmission damage. 

Transmission Fluid

After mechatronic installation the transmission must be refilled with transmission fluid. With vehicle on level ground, transmission in park and engine not running add transmission fluid through the filler plug until transmission fluid overflows. Install the filler plug and start the engine. With engine running remove the filler plug and add transmission fluid until it overflows through the filler hole. Install the filler plug. With foot firmly on the brake pedal shift PNRD several times, pausing in each position for a few seconds. Place shifter back into the park position. Remove the filler plug and wait until the transmission has reached 40 ° C, a small stream of transmission fluid should overflow from the filler plug. If no fluid is visible then correct fluid level as needed, using ZF Lifeguardfluid6 or OEM approved fluid. Install filler plug and torque to 35NM.

Test drive

It is recommended to clear the fault memories before driving. Should a fail safe condition occur a clean record of events will be available for troubleshooting.

Final check

After test drive allow the transmission fluid to cool to 40 ° C recheck transmission fluid with vehicle level, transmission in park and engine running at idle speed. Correct fluid level as needed, using ZF Lifeguardfluid6 or OEM approved fluid.
Check for leaks in the mechatronic sleeve and oil pan area.

Mechatronic core storage and shipping

Insert the old sealing sleeve back into the mechatronic, push the locking tab into its locked position for core storage or shipping. Avoid touching any electrical pins to prevent ESD (electrostatic discharge) damage.